
Blog
Are you a supply teacher or teaching assistant looking for some help and advice? If so, you are in the right place. Our blogs offer tips and tricks on everything from classroom management to interview tips and support, along with day in the life case studies from real supply teachers, ECTs and cover supervisors. They also give you an insight into what working for Smile is like, the ways which we support local communities and charities and the training and events that we offer.
For more good stuff like this, follow us on social media - you can find us on Facebook, Instagram, Twitter and LinkedIn. Or pick up the phone and give us a call.
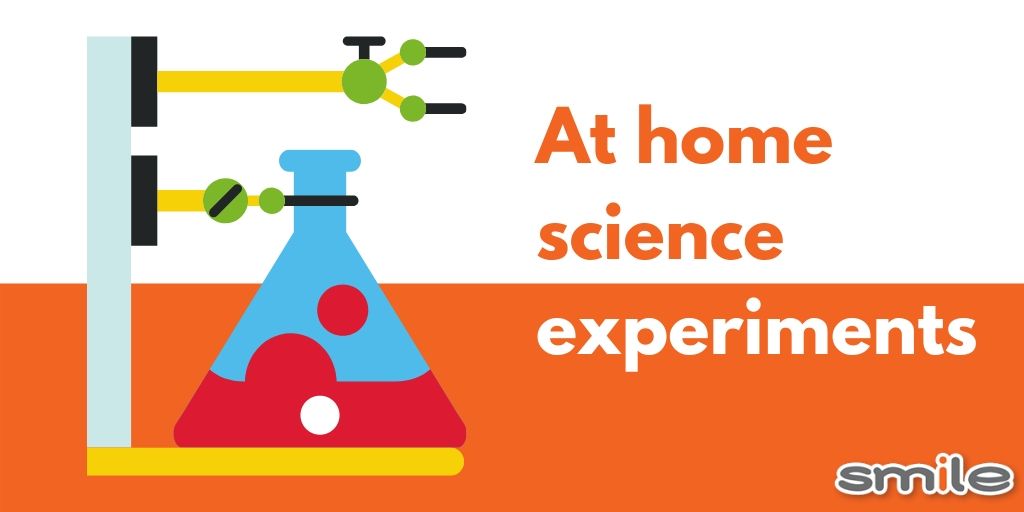
No school, no problem! Science doesn't just have to happen in a lab. It can happen in your home too. We've put together some chemistry, biology and physics experiments that you can do with your kids in your home.
Make your own slime - a chemistry experiment
The science behind it:
Slime is made after a chemical reaction between two main ingredients; polyvinyl alcohol (found in PVA Glue and borate ion (found in the bicarbonate of soda).
What you’ll need:
-
100ml PVA white glue (children’s craft glue or CE marked glue)
-
½ tsp bicarbonate of soda
-
gel food colouring
-
1 tsp contact lens cleaning solution
-
glitter (optional
How to do it:
-
Squeeze the glue into a mixing bowl (look for a bottle in a 100ml size if possible so you won’t have to measure it out). Add the bicarbonate of soda and mix well.
-
Add a drop or two of your chosen gel food colouring. Less colouring gives a pastel colour; the more you add, the brighter the colour. Mix until well incorporated.
-
Add the contact lens solution and mix. The slime will begin to form, going stringy before coming away clean from the bowl into a ball.
-
Once it has formed, take it out and knead it with your hands. It will be sticky at first but after about 30 seconds you’ll have a smooth and pliable ball. Add glitter at this point, if desired, and work in with your hands. Store in a pot with a lid.
Make your own lava lamp - a physics experiment
The science behind it:
The main idea for kids is the concept of density, in particular, the idea that things that are denser than a liquid sink and things that are less dense than a liquid float.
What you’ll need:
-
An empty water bottle
-
Vegetable oil
-
Water
-
Food colouring of your choice
-
Alka-seltzer tablets - you can buy these from supermarkets and pharmacies
How to do it:
-
Fill the bottle up about 1/4th (1 quarter) with water.
-
Pour the vegetable oil in the bottle until is almost full. You may want to use a measuring cup with a spout or a funnel. You may have to wait a couple of minutes for the oil and water to separate.
-
Add a few drops of your favourite food colouring. Watch as the colour sinks through the oil. Did your drops of colour mix with the water immediately or float in between for a few minutes?
-
Break your fizzy tablet in half and drop part of it into the bottle. Get ready … here come the bubbly blobs!
-
You can even get a flashlight, turn off the lights and drop in another half tablet. This time shine the flashlight through the lava lamp while the blobs are bubbling!
How water moves through leaves - a biology experiment
The science behind it:
Water travels through long, thin tubes running up from the roots through the stems and leaves called xylem. Water moves up the xylem through a process called capillary action.
What you need:
-
Jar or glass
-
Fresh leaves (a variety of sizes is fine). This experiment works best with leaves that are white in the centre or light green, and have obvious veins.
-
Water
-
Red food colouring
-
Patience, this activity will take a little while before you can start to observe changes!
How to do it:
-
Cut a green leaf off of a plant or tree. Remember, you really want to find leaves that are light green or have a white centre.
-
Add water to your glass or jar and then add food colouring. Add several drops or use gel food colouring. You really want it DARK red for high drama!
-
Place the leaf into the jar with the water and food colouring, with the stem inside the water.
-
Observe over several days as the leaf “drinks” the water.
Completed these? There are hundreds of other fun science experiments that you can find online. We'd love to see your photos of your experiments in Operation Smile.
Add a comment:
Blog Categories
Latest Blogs


![]()


Website by BARE
![]()